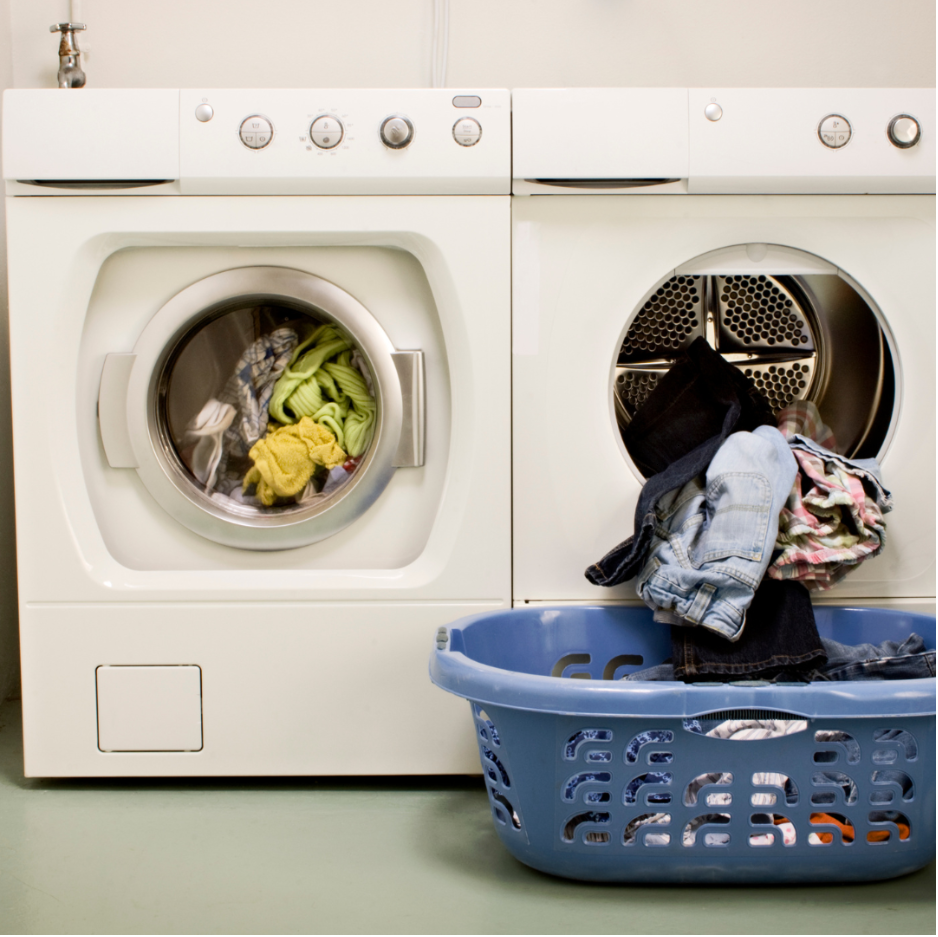
Household appliances save us time and energy. They carry the workload of mundane tasks and make our lives easier. They are indispensable in everyday life. One example of such convenience and efficiency is the dryer.
It does not only take care of tasks that take more time and effort than done manually, but it manages laundry in the best possible way. Your clothes are dry in a short amount of time, and you needn’t worry about the football practice jersey.

Image source: Canva
However, as with any machine, the dryer works effectively and well only when regularly cleaned and maintained. For it to dry your clothes fast and effectively, it needs frequent vent cleaning. For medium-sized households, the recommended frequency is once per year.
That is how the dryer vent cleaning kit comes in handy. You can effectively clean your dryer vent system with all its bends and curves when equipped with all the brushes, adapters, drills, and more.
Do not neglect cleaning your dryer vent. Prolonged drying times and worsened air flow might be the least of your problems regarding cleaning neglect. Fire hazards due to lint buildup are serious consequences.
If you want to prevent any trouble, read on. You will learn about the components of a dryer vent cleaning kit, how and when to use them, and some additional tips and good practices.
Components of a Dryer Vent Cleaning Kit
It is not necessary to buy the tools for your dryer vent maintenance separately. Luckily, there are kits you can use to perform a high-standard job. Yet, you have to be well aware of what every component is used for and how.
Although the kit’s components may vary from brand to brand and category, the essentials are always the same so you can clean your vent and duct efficiently.
That is why we have compiled a comprehensive dryer vent cleaning kit components guide. Here is what the kit usually contains.
Flexible Rods
Rods are long, flexible, and can attach to one another to reach your dryer vent and duct extensively and clean any clogs or buildup. Some can reach up to 15-30 meters.

Image source: Canva
Brushes
Flexible rods cannot do the job themselves, so a kit needs a set of brushes to scrub the lint and debris from the vent walls.
They can vary in size and shape because dryer vents are different types. However, when you attach the right dryer vent brush head to the rod, you can remove lint and prevent clogs. You also ensure better airflow.
An auger brush is used to unclog your dryer vent.
Another way is to connect the drill attachment and use mechanical rather than manual power to scrub your vent system. Use a cordless drill as it is more convenient.
Lint Trap Brush
It is a small brush that cleans the lint trap screen and is essential because it helps fight overheating.
Vacuum Adapter
A vacuum cleaner suction is recommended to eliminate all lint and debris that may stay after the brush sweeping. Vacuum adapters are designed to help you attach your vac to the dryer vent. Vacuum attachments save time and are very convenient.
Dryer Lint Brush
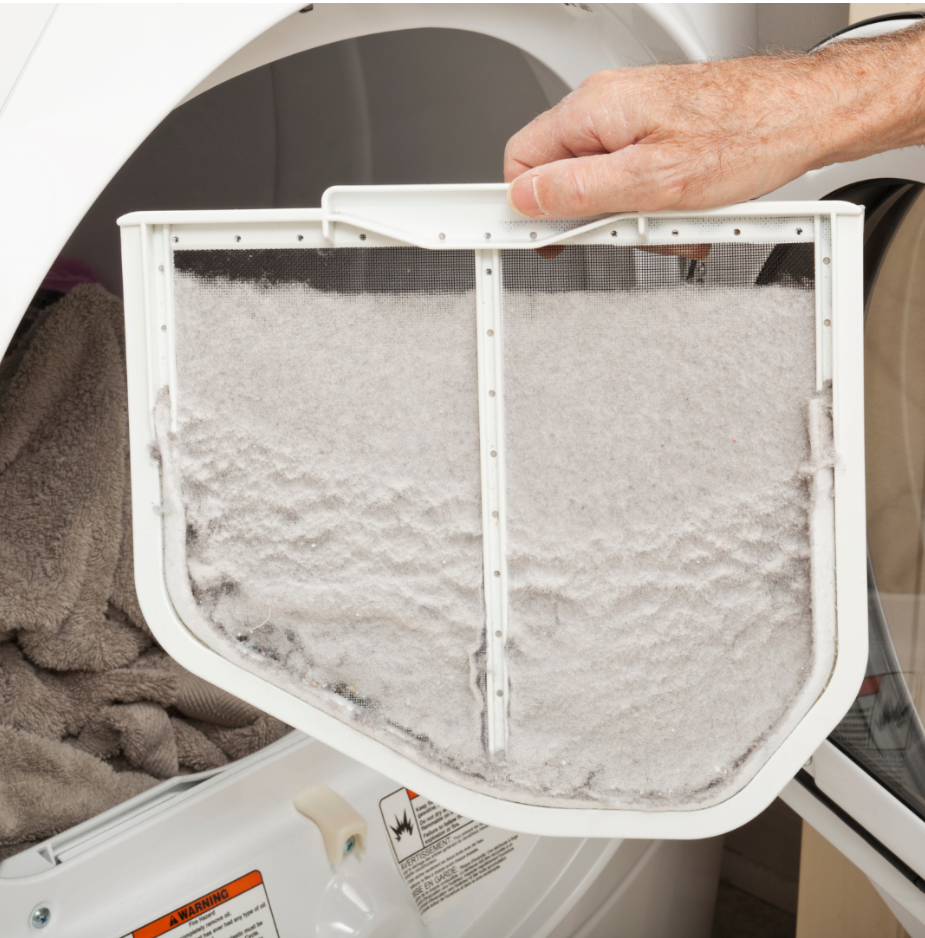
Another essential part of your dryer vent system is the lint screen. It has to be regularly cleaned along with all other components of vent systems because it allows for better airflow and working efficiency.
Safety Gear
Safety is paramount, although not all kits include protective gear. However, you must wear a dust mask to prevent inhaling particles when cleaning your dryer.
When to Use the Kit?
Using the kit is directly connected to the right time for cleaning your vent. You have to be able to see the signs and be prepared. Regular cleaning, even when required more often than you initially planned, is a way to help prolong the lifespan of your machine and its efficiency.
It also diminishes the risk of fire caused by lint buildup. Statistics show that this is among the most frequent reasons for house fires. Look for the following.
Long Drying Times
When clogs occur, they obstruct the airflow, directly resulting in a worsening drying quality. If your clothes drying times increase, it is time to use your cleaning kit.
Hot Exterior
If you notice when unloading your dryer that its exterior is hotter than usual, this is a sign that the vent is not working properly. The machine works harder to compensate by producing excess heat.
Excessive Lint
When you start to notice lint accumulating around your dryer or in the surrounding area, this is clearly an indication to clean your vent.
Burning Smell
If you smell burning fumes while your dryer is working, this might be the lint buildup inflaming. It is a severe fire hazard.
Visible Debris
If debris or lint comes from the vent opening, you have been late on that cleaning.
Step-by-Step Guide
Now that we have determined that cleaning the dryer vent is a must and should be done regularly and precisely, here are detailed stages of using your cleaning kit.
You might think the kit will save you time but do not rush the process. How well you clean the vent determines the efficiency of your clothes dryer.
Step one includes being mindful of your safety. Your dryer must be off the grid before you proceed with cleaning. If you use gas, then turn off the valve. Protect your hands and eyes. Also, we strongly recommend wearing a dust mask.
Step two requires removing the cover of the dryer vent, which is located outside. You might need a ladder to access it.
Step three consists of attaching the appropriate brush to the flexible rod. Then, you can start cleaning the vent using a rotary brush inserted inside to scrub debris and lint. Rotate clockwise.
Step four might require a tool that extends your reach. Encountering curves on the dryer vent hose or/and clogs will need to connect extra rods. Continue the rotating movements until you are satisfied with the cleaning.

Image source: Canva
Another essential step is to clean the lint trap and screen since they account for your dryer’s good airflow and energy efficiency.
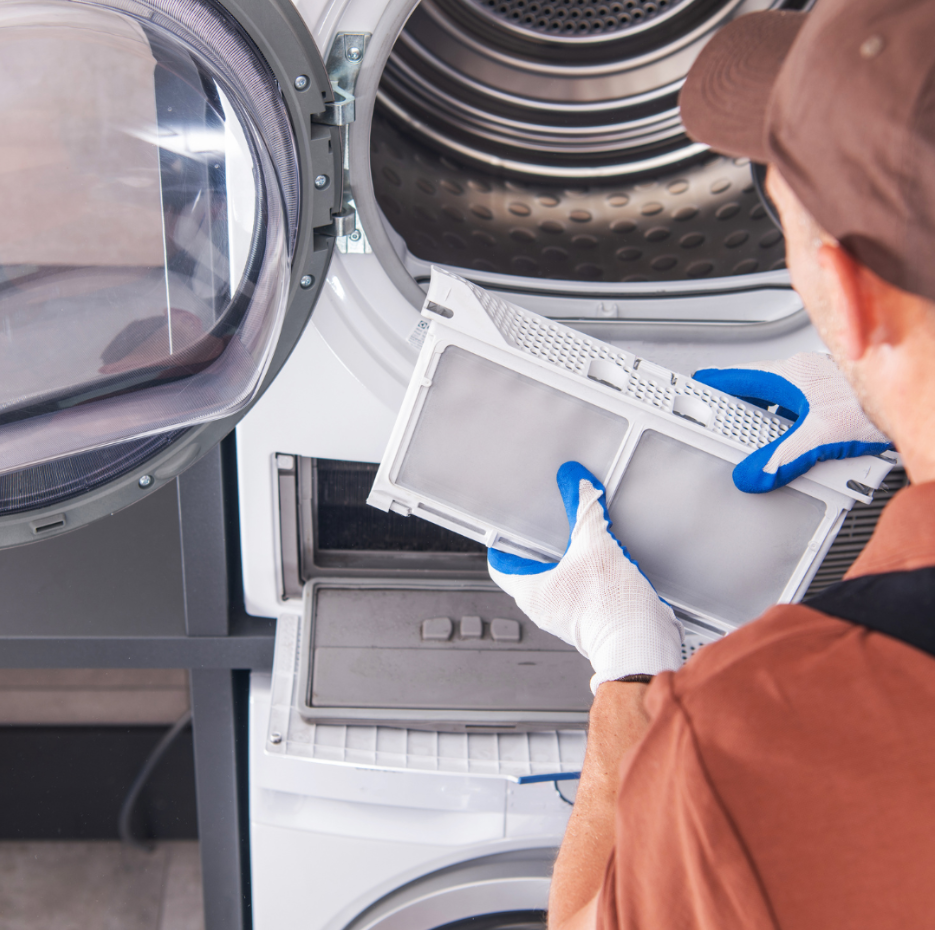
Step five includes using the flexible rod to clean the trap within the dryer. Use the lint brush to wipe the screen.
Step six is to utilize the vacuum adapter if your kit includes one to vacuum the vent. The vac will suck all loosened lint and debris from the brush intervention.
This way, you will thoroughly clean the vent and ensure debris and lint particles will not escape your home.
Your final step is to reassemble your dryer vent. Clean your brushes and store them for the next cleaning. When you have ensured that everything looks safely and properly attached, run a program on your dryer to see if all is well.
Best Practices
You have bought the kit and read the step-by-step guide, but what else is there to consider? Adhere to some of the best practices we are to share.
Regular Maintenance is the key to prolonging your dryer’s lifespan, promoting efficiency, and being conscious of fire hazards. Do not postpone the cleaning until after you have seen signs of clogging. The best is to clean your dryer vent once a year.
Scheduling regular cleanings ensures that issues are prevented before they arise. On the other hand, if you notice any of the signs of lint buildup, do not hesitate to initiate a cleaning, even before the scheduled one.
Secondly, do not underestimate your safety during the cleaning process. You are dealing with debris and potential allergens, so wear protection. Another safety issue is to ensure you unplug the dryer before any attempted cleaning.
Thirdly, be careful when using your kit components. When you insert the rod, for example, be careful not to force it so that you damage the interior. Be careful when you operate the rod when there are curves. Stucks might be very unpleasant. A vacuum attachment is a fast way to finish your cleaning.
Be careful to choose the right size brush for the job you need to do. Some brushes could be used with power drills or not. Rotate clockwise and do not change the direction.
When you finish cleaning, carefully check if you have reinstalled everything properly and if you have put back on the vent cover. Its main purpose is to prevent debris and pests from going inside.
Finally, seek professional service if you have doubts about the cleaning process. Some dryer vent systems are hard to clean, so it is probably best to rely on professionals.
There are numerous advantages to calling a dryer vent cleaner:
- Quick and efficient job;
- Neatly done with no additional worries;
- Everything is installed the right way;
- Post-cleaning inspection of your duct and vent;
- On-spot cut repairments;
- Helpful advice;
- Save money.
What Else to Consider?
There are a lot of kits on the market. When you choose yours, consider all the tips and recommendations in this article. Think about technical parameters such as flexibility, durability, and compatibility. Do not forget to take any measure to prevent fire hazards for your household.
You can always visit our web page for extra information about the best ways to clean a dryer vent or to book your professional cleaning services.


