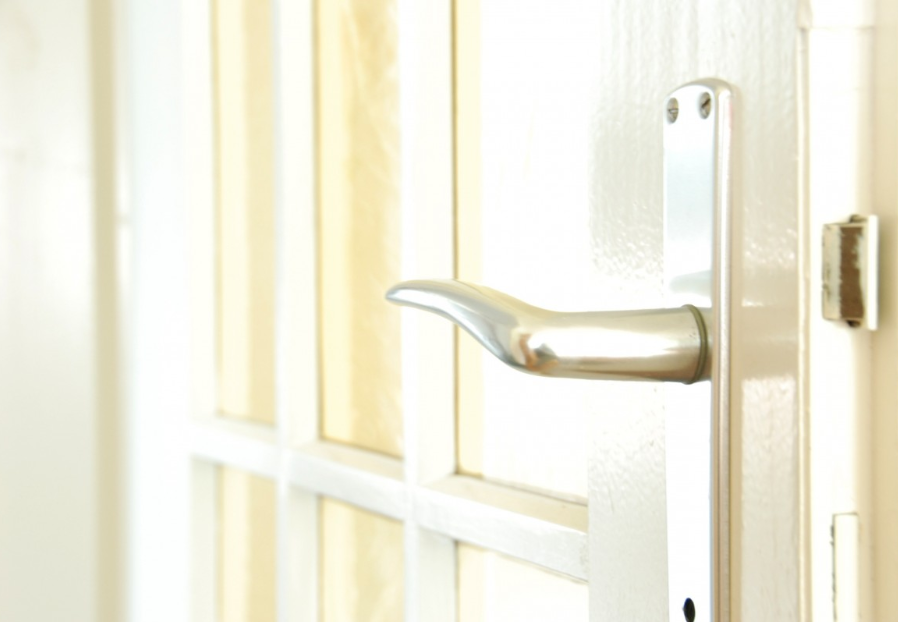
Scratches on interior doors are something that can often occur in every property. Regardless of the reason for their appearance, scratches on interior doors are always an unpleasant view for the inhabitants. Especially because of the fact that the doors of the rooms are usually the spots which we notice most often when we enter a property. Even if your property looks good on the outside, if the interior isn’t well-maintained, then you may not be able to sell the property at a very high price.The benefits of removing unwanted scratches are many and they aren’t only limited to aesthetics. Removal of door scratches can be also beneficial to your budget. So, as a property owner it will be great to try an effective removal method for door scratches.For example, if you want to sell your property or lease it, improving its appearance can inevitably help you sell it at a good price.Thankfully there is an effective way to remove scratches from doors in your property in an effective and easy way. Here in this article we will present you with some tips for effective door scratches removal.Sanding is the most common method for removing scratches from doors. It can be done either by hand or with a tool, but you need to remember that hand sanding is easier than sanding with a tool and it’s effective for surface-level scratches rather than deep scratches.If you have an interior wooden door with scratches on it and you want to remove them effectively, we recommend you to follow the next steps.
Supplies you need for scratches removal:
The first thing you need to do is to remove the scratched door from the jamb. If you have two sawhorses, place the door in a flat position across them. It's recommended to choose a well-ventilated area where you are going to work on the door.

Get the fine-grain sandpaper and start working on one corner of the door. Sand down the area where the scratches are in a careful way. Work with the sandpaper forward and backwards on the surface of the door.It’s important to sand in a regular pattern and keep the forward movement with a length of around four inches and the back movement around three inches.Keep sanding the surface forwards and backwards until you reach the opposite corner of the door. From there you need to start the same process until you reach the other corner. When starting to sand for the second time make sure that the pattern of your movement overlaps the previous pattern by a half inch.Eventually the fine-grain sandpaper will get clogged with lacquer, so you need to replace it roughly every 10 min. When you reach a scratch, make sure to sand back and forth over it until it’s fully gone. Proceed with the sanding until you remove all of the lacquer on the surface. To check if there is more lacquer left, wipe with a towel the dust from the door. Another way is to lean over the surface of the door at an angle where you can see how light reflects off the surface. This will help you see if there are any glossy spots from the lacquer. If you find such spots, sand against the surface of the spots until they are gone. In the case of stains, use a wet cotton cloth to wipe them. Leave the surface to dry for 30 min. and then apply one coat of aerosol lacquer on the surface of the door. When applying the lacquer you should hold the spray bottle at a distance of around 8 inches from the door. Leave the coat to stay for 30 min. and then use a folded 180-grit sandpaper to sand the surface of the door. When you are ready with the sanding, apply one more coat of lacquer with the spray.
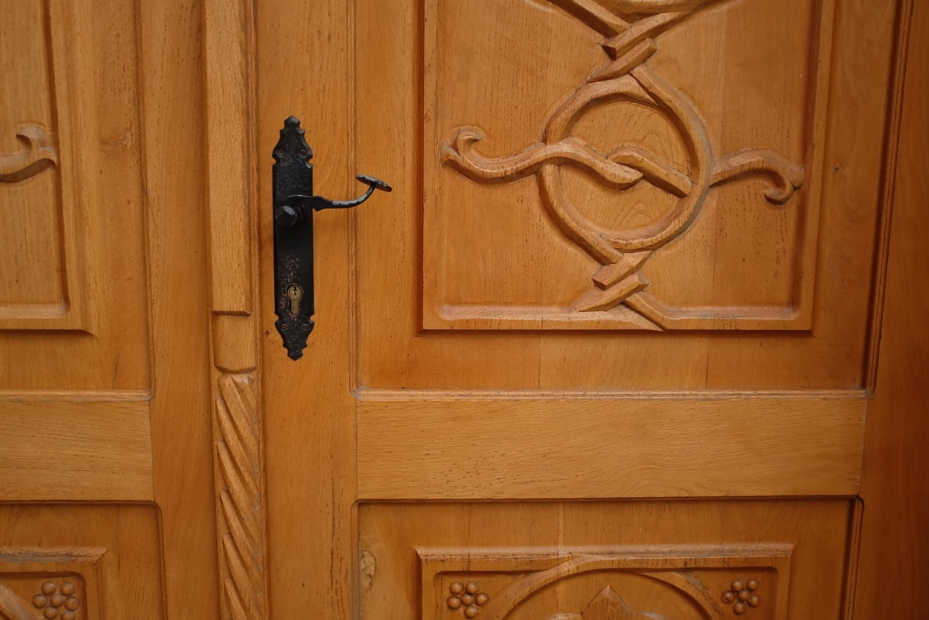
Remember that, if your door is made from natural wood, then you shouldn’t do this. Make sure that you perform the sanding movement parallel to the grain. This will help you avoid creating damage on the wooden door. Sanding against the grain will result in more scratches on the surface.
After you are finished sanding the surface of the door, you need to clean the surface from the dust and debris from the sanding. If you don’t clean the sanded surface of the door properly and there are wooden pieces left, there won’t be a good bond between the surface of the door and the wooden filler that you need to apply afterwards. This will definitely spoil the look of the door.
Apply a small amount of wood filler of your choice on the surface you have sanded. Use the putty knife for this purpose. Leave the wood filler to completely dry .
After the wood filler has dried, sand down again the spot until it’s smooth and even with the rest of the surface. Make sure you work in a gentle way while sanding.When you are ready with the sanding,you need to paint that section of the door which previously had scratches. Make sure to pick the right paint color that matches the color of the rest of the door.

Window cleaning of buildings in Seattle area
.svg)
.svg)
.svg)
.svg)
.svg)
.svg)
.svg)